Manage your locales
See the available locales
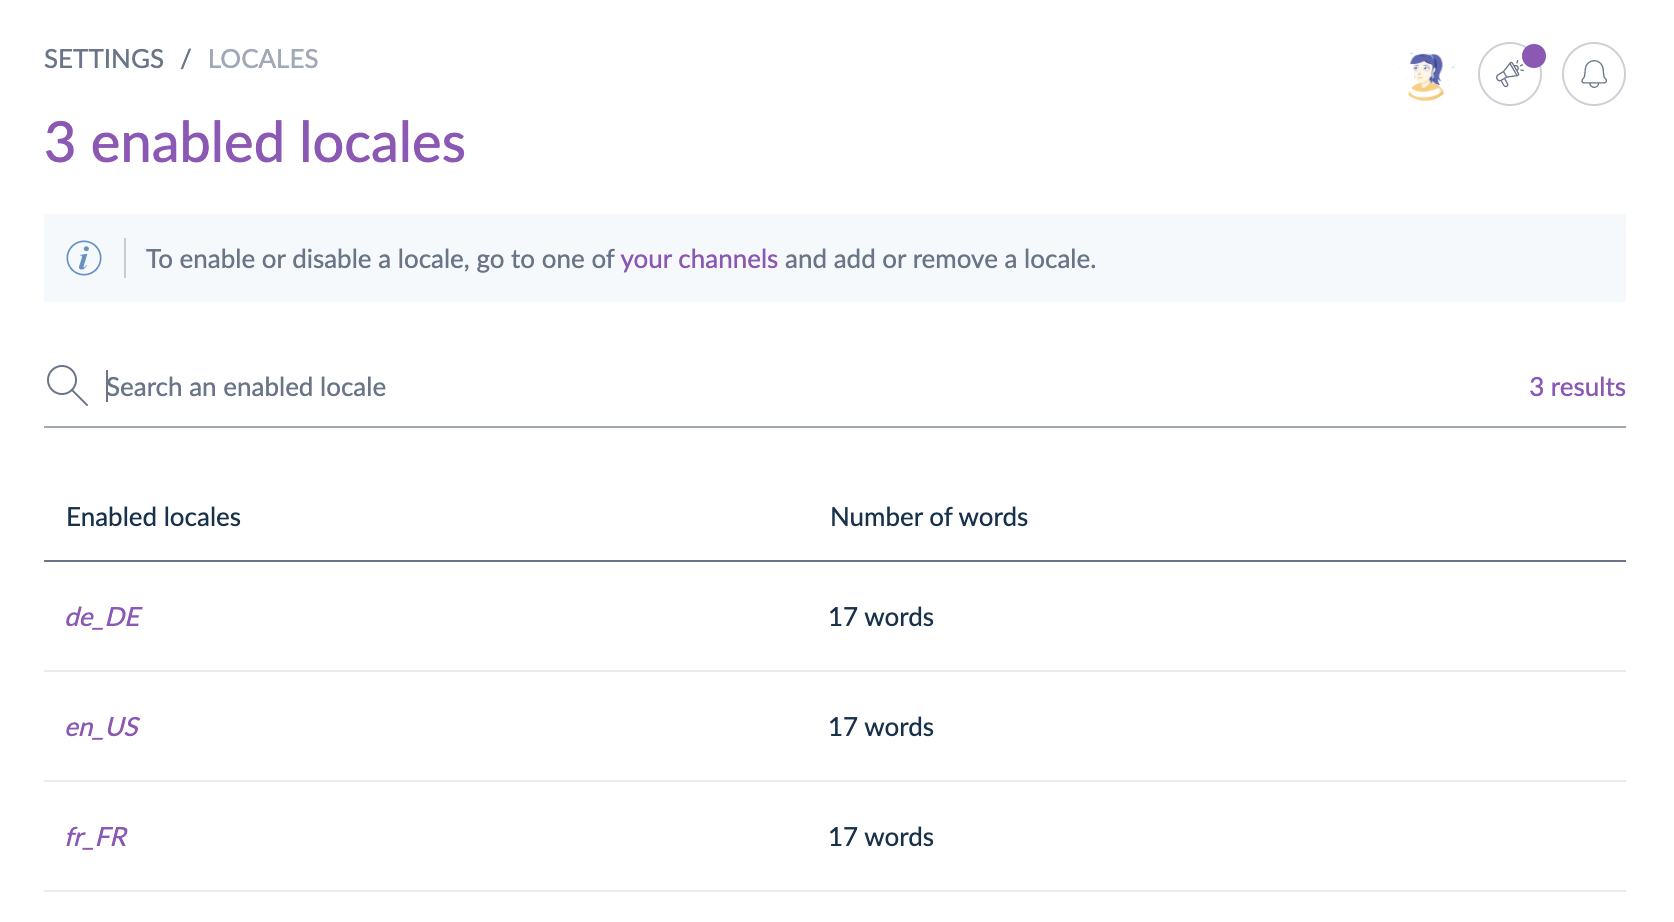
To view the available locales in Akeneo, go to Settings/Locales. You can find a locale using its code. You can also filter on its status Activated: All/Yes/No.

How to enable/disable a locale?
A locale is activated when it is added to a channel, it cannot be enabled from the locale settings page or through a CSV or XLSX locale import. To learn how to enable a locale from the channel check the following article: Manage your channels.
How to add a new locale?
Akeneo offers more than 200 locales by default, but if you are missing a locale or if you need a custom locale, it is very easy to add a new one using imports.
Format of the new locale
Your new locale has to respect one of the following formats: xx_YY, xxx_YY, xx_YY_ZZ... If you upload a es_DE locale, it will appear as Spanish (Germany) in Akeneo. If you upload a locale called eng_test_web it will appear as english (test, Web).
The PIM limits to 20 the number of characters that can be used for a locale name.
Steps to add a new locale
For instance, to add a en_HK locale, follow these steps:
- Create a XLSX or CSV import file containing a locale code column and your new locale code, like below:
code
en_HK - Import this file using the csv_locale_import or xlsx_locale_importjob. Once the file is imported, the new locale will appear under Settings/Locales.
- To enable it and add it to a channel, go to Settings/Channels and add it in the Locales field. If you cannot find it, use a channel import job (csv or xlsx) and add the en_HK code in the locales column along with your current enabled locales for this channel if you have any.
And that's it! Your en_HK locale is activated for your channel! You will be able to find it in your Product grid, as well as in the product forms.
Set permissions on locales
Like on attribute groups and categories, you can define specific user permissions on locales. Check the Set Rights depending on the locale article to know how to add/remove permissions on locales.

