

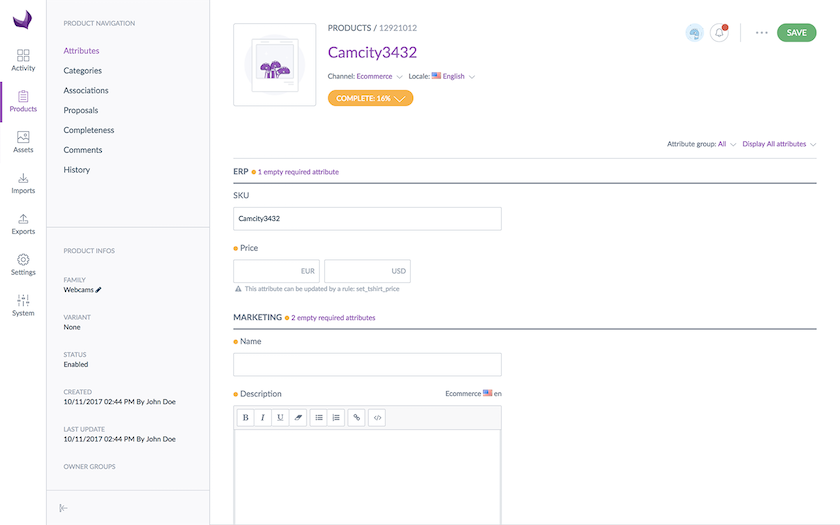
Go to a product
Click on a product on the grid or create a new product to display the product form.
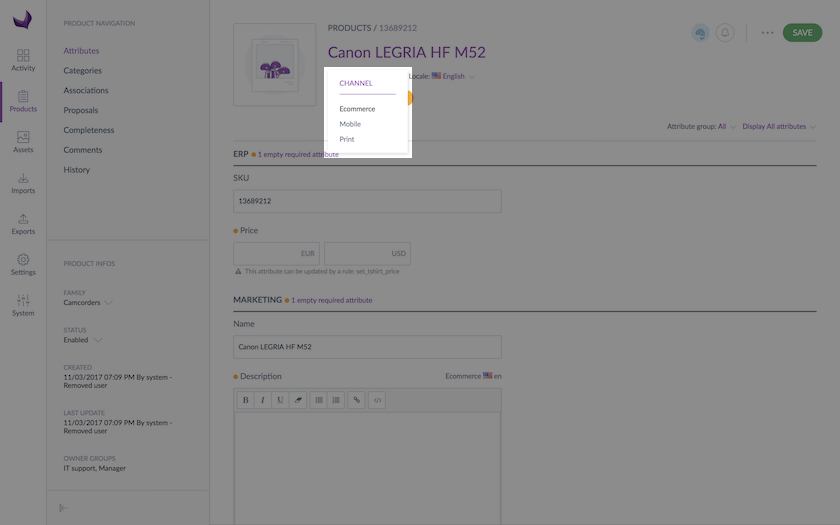
Select your working context (channel/locale)
Select your working channel
To select the channel you want to edit, select your channel in the drop down list on the header of the product form.
If you want to edit several channels at once, you can edit the product information for one channel then another one and save all changes at once.
Select your working locale
It is possible to define your working locale, the selection of the locale impacts the following information on the product form:
- The family label in the product infos
- The attribute groups label
- The attributes label
- The categories label
- The association label
To select your working locale, select the locale you want to work with on the header of the product form.
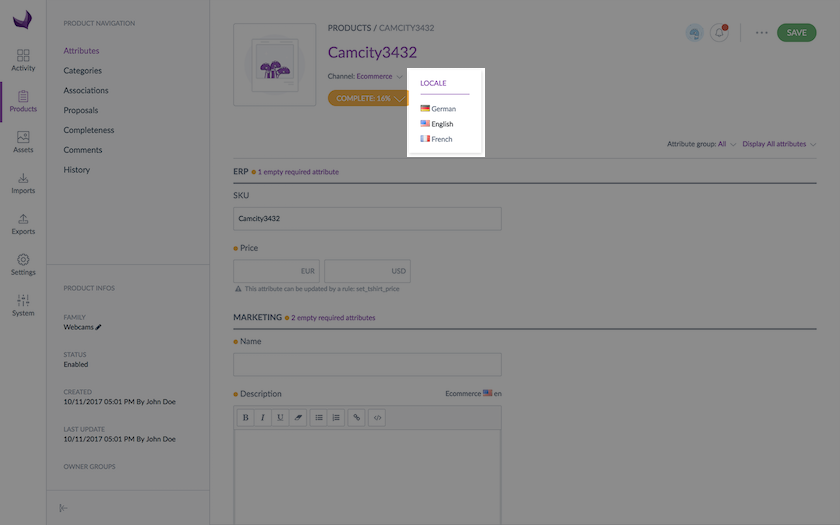
In the drop-down menu, you will find the locales (at least those that have been added to a channel).
If you cannot find your working locale listed, perhaps the locale is not required by any of the channels: therefore it is not enabled. To add a locale to a channel, please refer to Manage your channels.
For the localizable attributes (with the indicated locale on top right of the field), the entered values will be saved only for the working locale.
The localizable attributes for some locales exclusively (locale specific), are only displayed when they are concerned by the working locale.
If you are working on several locales, you can edit one locale then another one and save all changes at once.
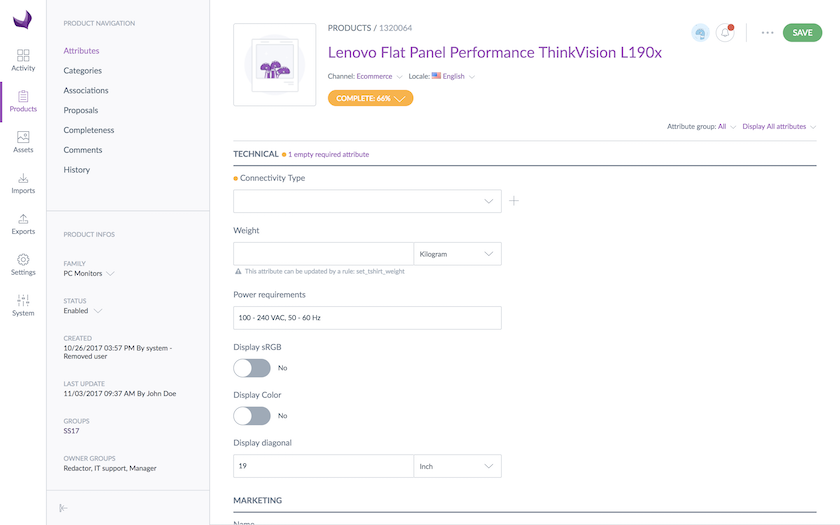
Edit a product
- Click on the Attributes tab
- Select the channel and locale you want to edit
- Change or complete your product information
- Click on the Save button (top right hand corner).
The product is updated and a new product version is created. You can view the product versions on the History tab (see View the product versions).
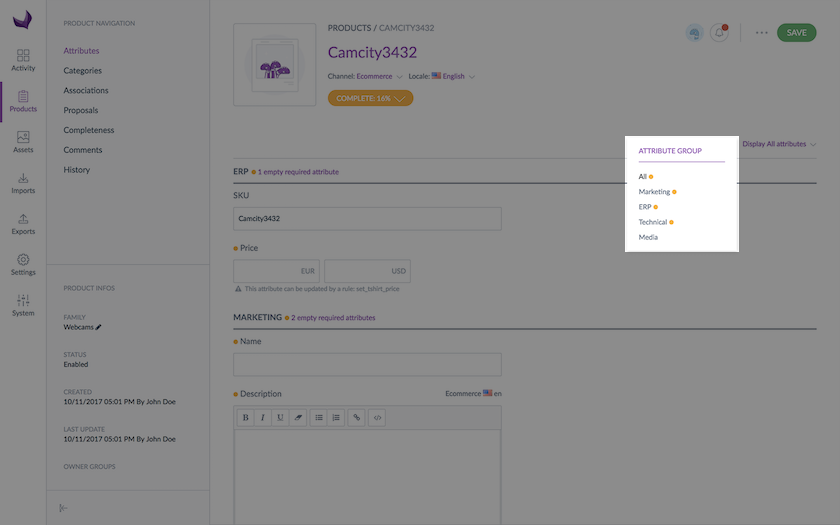
By default all the attributes are displayed, you can change the attribute group by clicking on the list Attribute group and then selecting the attribute group.
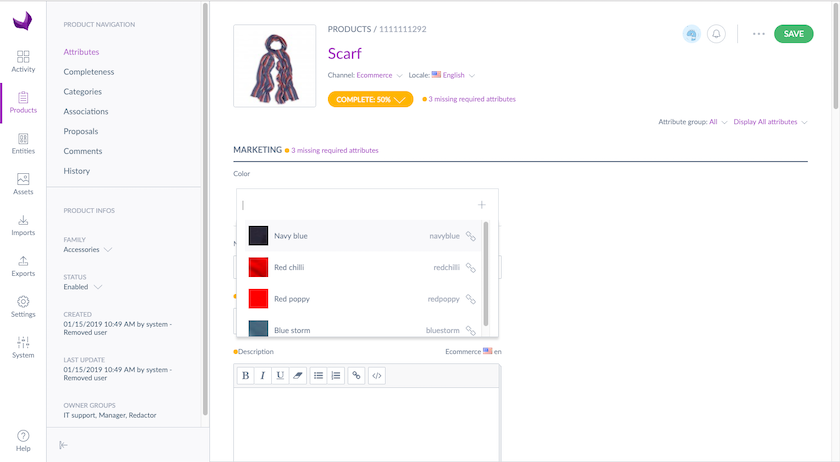
Add options to a simple or multi-select attribute
If an attribute option is missing for a select attribute type (simple or multiselect), you can directly add it within the Product Form.
From the product form:
- Click on the + icon on the right side of the attribute
- A popin appears, add the attribute option code and its label for the working locale
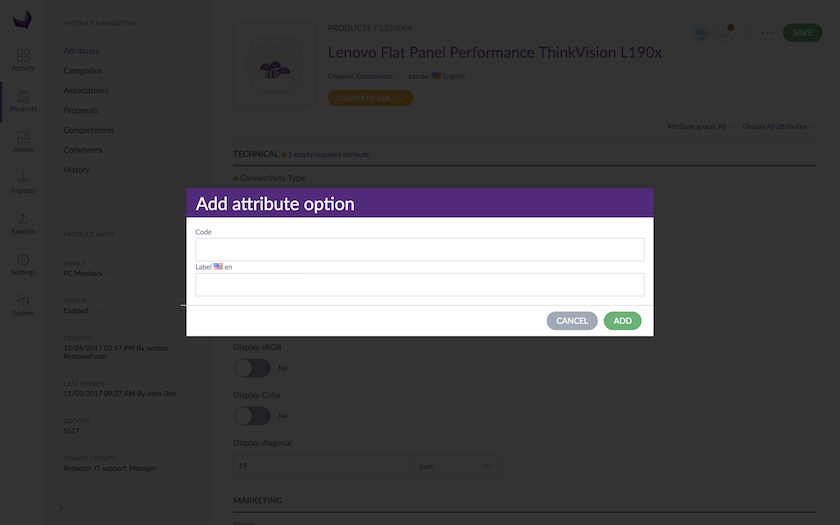
- Click on the Add button to create the option, it will be automatically added to the product for this attribute
If you do not see + icon, you might not have the appropriate rights to add an option, please refer to Manage your user roles.
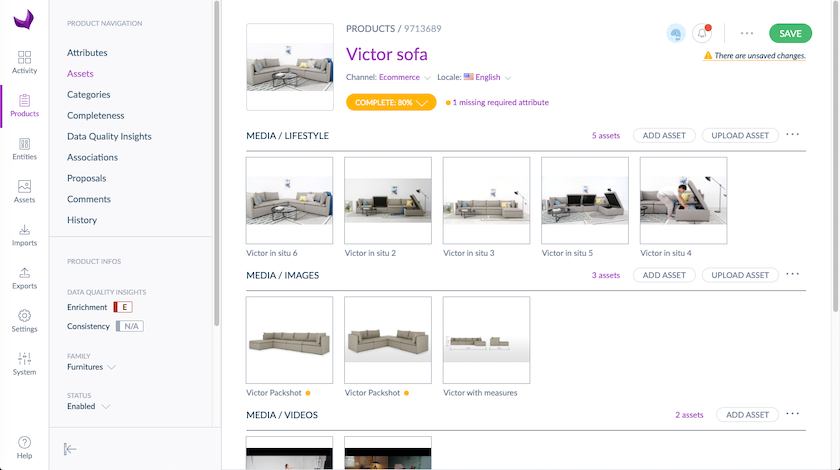
Work with assets in an asset collection attribute (EE only)
In the product form, there is an "Assets" tab in which you will retrieve all the asset collections of your product. It means that the assets will not be mixed with other values of the product. Here is how the asset collection attribute looks:
To know how to add an Asset Collection attribute type, you can read this article
In the following section, you will discover all the features that are available around this attribute.
And to learn more about assets, you can have a look at this article.
LINK ASSETS TO YOUR PRODUCT
You can manually link assets to your product using this attribute. You have two possibilities (and two use-cases):
- Your assets are already created in the Asset Manager: use the Add asset button to open the asset picker.
- Your assets are not yet created in the Asset Manager: use the Upload asset button to upload and create new assets in the Asset Manager, directly from your product sheet. Of course, they will be linked to your product.
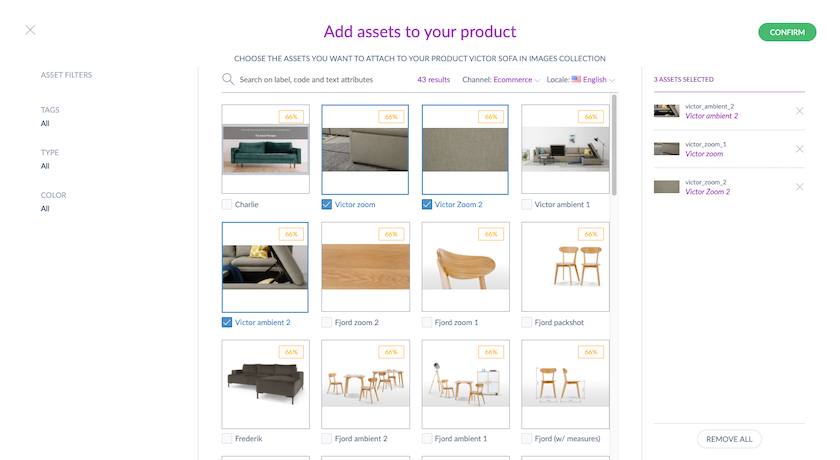
The asset picker
To pick assets that already exist in your Asset Manager, follow these steps:
- Go to your product form
- Click on the Assets tab of your product form
- Scroll down towards the asset collection attribute
- Click on Add asset to access the asset picker and the basket
- Pick the assets you want to link to your product, and save. You can use the search bar and filters.
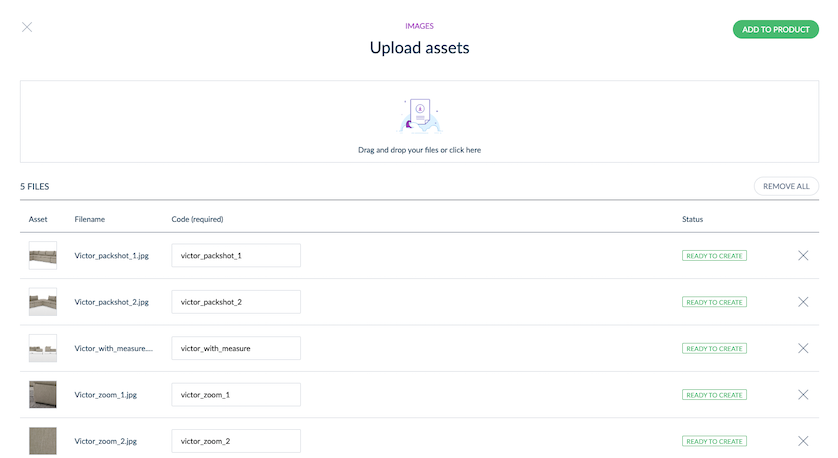
Upload and create assets from the Product edit form
If your assets don't exist in the Asset Manager yet, you can easily add them directly from your product sheet. This way, they will be created in the library and linked to your product. To do that:
- Go to your product form
- Click on the Assets tab of your product form
- Scroll down towards the asset collection attribute
- Click on Upload asset to access the upload screen
- Drag and drop or open your file explorer and select the assets you want to add in the PIM and link to your product, then click on Add to product.
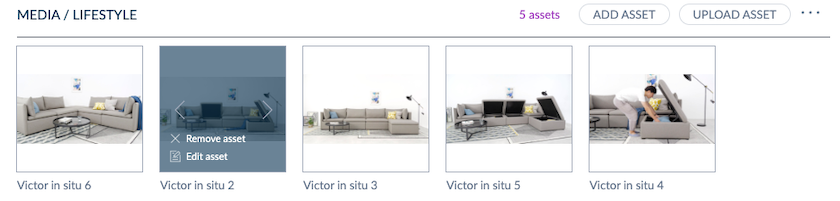
When hovering the asset, you can remove it from the asset collection, or edit it in order to enrich its attributes.
ORDER ASSETS IN THE ASSET COLLECTION
We know that ordering assets can be important for you. Indeed, it can help you to organize assets for your different channels.
There is a simple way to do that, directly from the product form.
OK, let's see!
If you have one or several asset collection attribute(s), you can now organize your assets directly in the asset collection in the product form with the arrows, and find this order in export file. Simple. Fast. Effective.
The order defined in the PIM will also be the same when you'll export your products with the API.
ASSETS DISPLAY
If you have assets linked to your products, you can have a large display of those assets clicking on their thumbnails. It is possible to preview images (.png, .jpeg, .tif, .psd), PDF and Youtube videos!
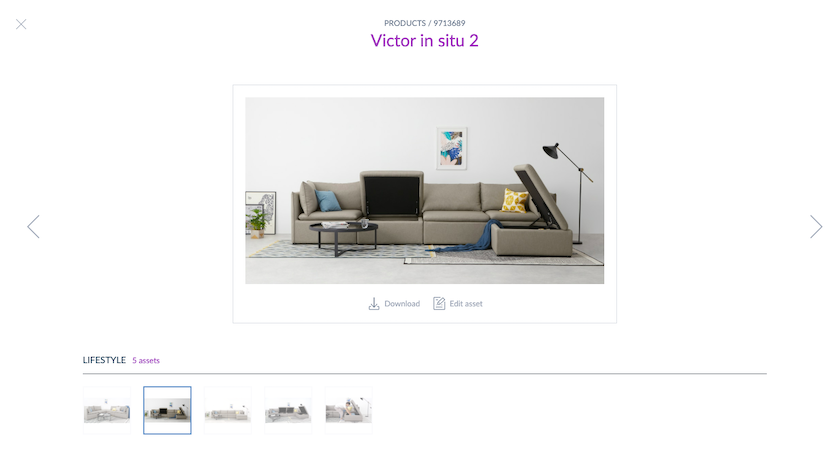
Where? In the asset collection in the Product Form.
And moreover, we added a slideshow to navigate between the assets.
Several actions are available in this asset preview screen:
- You can download each asset by clicking on download.
- You can also enrich the asset attributes, clicking on edit asset. This way, you will be redirected to the asset form.
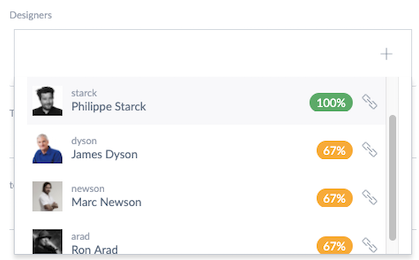
Add one or several records of a reference entity to a product (EE only)
If you have added a reference entity single/multiple link attribute to your family, then you can add a link to one or several records of the entity to your product.
It's very simple:
- Click on the field of the "reference entity single/multiple link" attribute.
- If it's a reference entity single link attribute, you can choose only one record. If it's a multiple links one, then you can choose as many records as you wish.
We added the completeness of a record in the selector.
Use a table attribute in your product page (EE and GE only)
You've created a table attribute and you've added it to a product family, you can now select the most relevant rows for each of your products. The first time you open a product sheet that has a table attribute, this attribute is empty.
- The first thing to do is to add rows. To do so, you will use the options you defined in the first column. They are configured in the settings of this attribute.
- Once the rows are added, then you can start enriching the table.
Please note that we have defined some limits in order to guarantee the PIM stability.
- The maximum number of rows in a table is set to 100.
- The maximum number of table attributes within the PIM is set to 50.
- The maximum number of filled cells per product is set to 8000, for all the table attributes on a given product page.
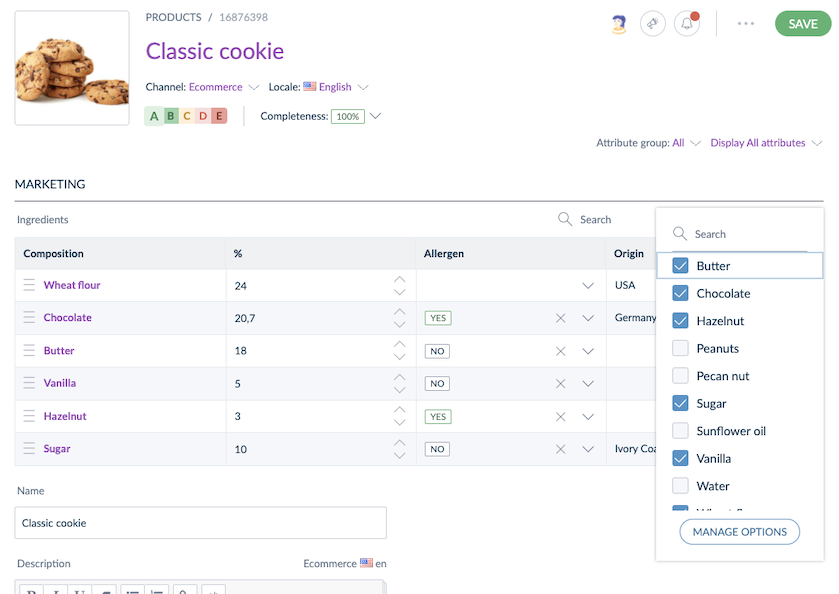
USE THE TABLE VALUES TO SEARCH FOR YOUR PRODUCTS IN THE PRODUCT GRID
Let's assume you are using a table attribute for your ingredient list, and their origin (this information is stored in a select column in your table). Then your table could look like that:
- a column called ingredients containing sugar, butter, wheat flour…
- a column called % per 100g, where you'll put the percentage of each ingredient for 100 grams,
- a column called origin, where you'll choose among options.
Thanks to the product grid filters, you can easily find all the products with French wheat flour:
- Select the right table attribute as filter, i.e ingredients
- Select the column you want to search in, i.e origin
- Select the right row you want to search in, i.e wheat flour
- Choose your operator (it depends on the column type), here we can choose IN LIST
- Choose or type the value you're searching for, i.e France.
Compare product information from another locale and/or channel
View product information from another locale and/or channel
In the product form, it is possible to view the values of the product for another locale or channel, to assist capturing the data on an ongoing work, like for instance when translating the product information, or retrieving the product information coming from another team (you are in the e-commerce team and you need the product information from the mobile team or the print team).
To view the data in another locale and/or channel:
- Open the Product Form that you need to translate
- Select the locale to be edited
- Click on the ... on the right side of the form and then Compare / Translate (working copy is selected by default)
- Select the channel and locale to be displayed in the drop down menus on the right side of the form
The localized or scopable values are displayed on the right side of the product form in the compare / translate panel.
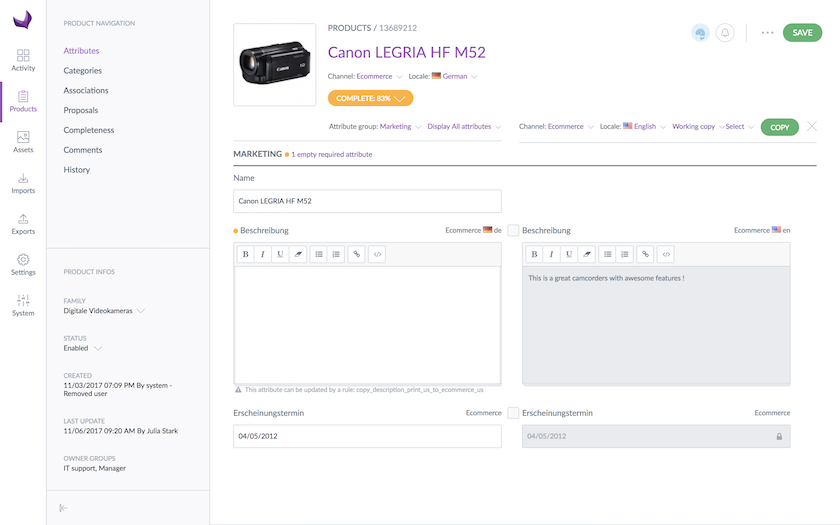
The values on the right side can only be viewed, no edition is possible.
Additionally, it is possible to copy the values in the product form. For further details, see the next section.
Copy product information from a locale and/or a channel
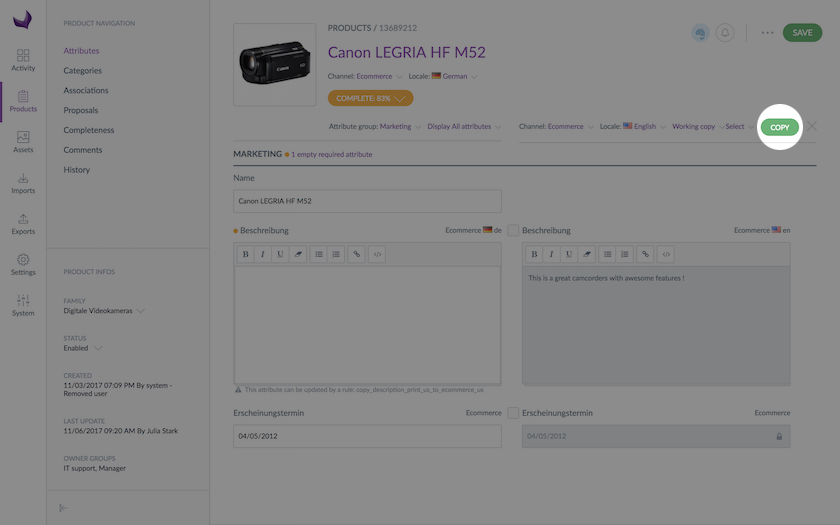
When a locale is displayed for convenient reference in the Product Form, you will be able to copy the values in the product form.
To copy the product information from a locale:
- In the Compare / Translate mode, there are multiple option values that can be selected from the Select drop down menu
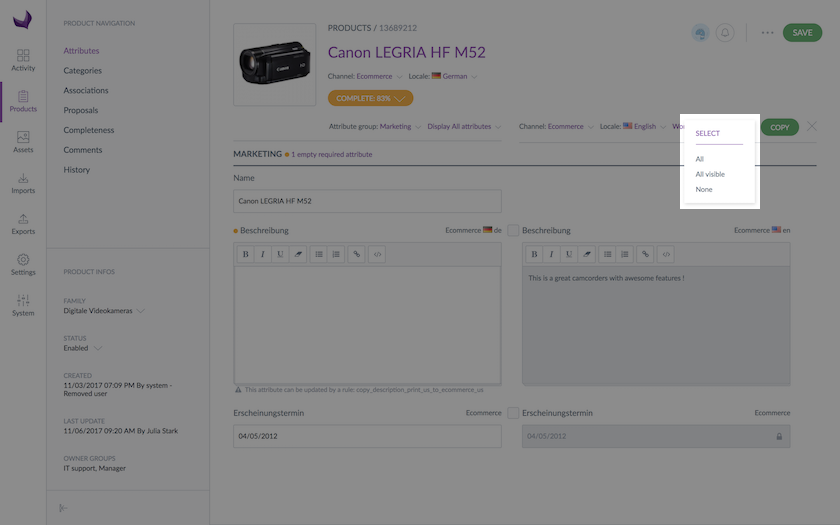
- The All option enables you to select all localized values of the locale of reference
- The All visible option enables you to select all the attribute group values displayed.
- The None option enables you to deselect all the localized values of the locale of reference
- Click on the Copy button, the selected values are copied to the Product Form
View the product’s versions
The history of changes applied to a product are taken into account for the following operations:
- Changes of attribute values in the Product Form
- Changes on the product status (enabled/disabled)
- Changes on family
- Changes on association
- Changes on categories
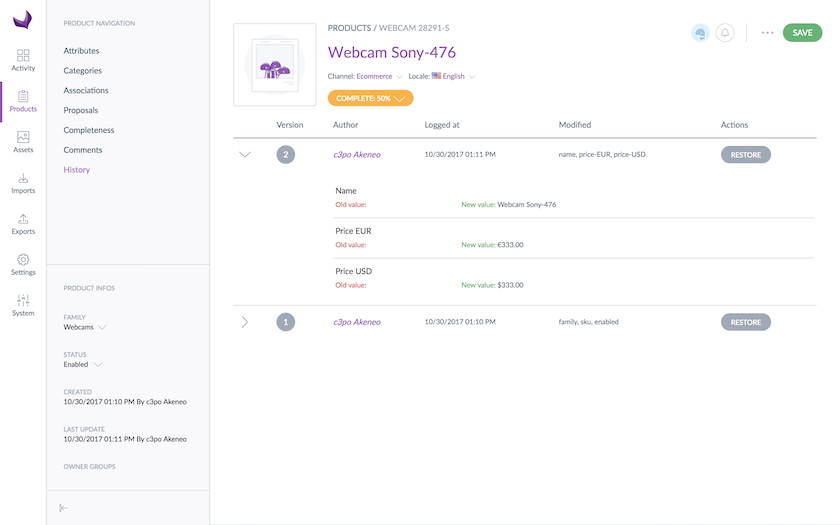
For each change, a new product version is created. What is tracked down for each version:
- The author or system that made the changes
- The date and time (up to seconds) at which the changes took place
- The old and the new value of each amended product information
You can define specific rights on users that can check the product’s history, please refer to Manage your user roles.
To view the product versions:
- Open the product form
- Click on the History tab to see the whole list of versions
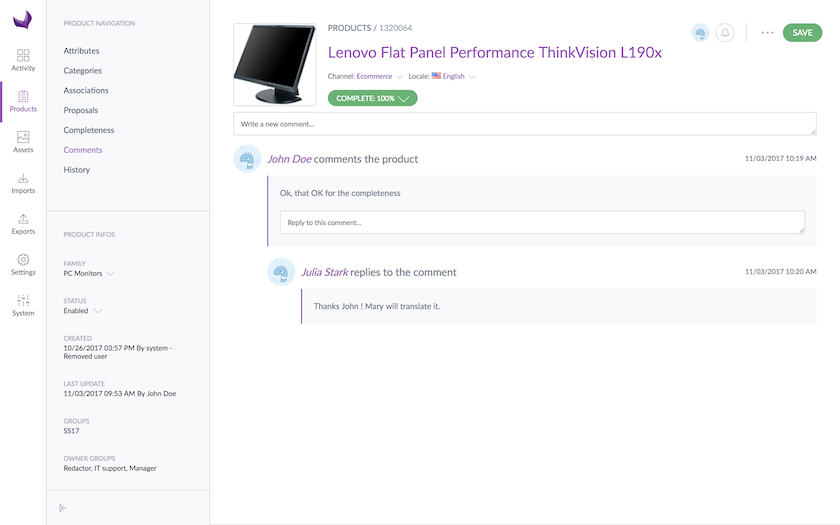
Comment a product
Commenting a product is a convenient way to add additional product information and facilitate the collaboration between team members. Comments are available under the Comments tab in the Product Form.
Add a comment
- Open the Product Form of the product you want to comment
- Click on the Comments tab

- In the text field, write a new comment (there is no length restrictions)
- Click on the Add a new comment button
Reply to a comment
You can reply to all comments made on a product.
- In the text field of the comment, reply to the comment
- Click on the Reply button to save your answer
Delete your comments
You can only delete your own comments.
- Place your mouse over the comment to delete
- Click on the Trash icon which is prompted
- Confirm you want to delete the comment by clicking on the OK button in the popin