


Overview
To export the assets that are in your Asset Manager, you can use the API or the export jobs in the UI.
We won't dig into the API method here but we really recommend you to take a look at the API documentation for you to know how to use our powerful API to manage your assets.
How to export your assets with the export jobs?
You'll see, it's quite simple. The first thing is to create an export profile. To do that, follow these steps:
- Go to the Exports tab of Akeneo PIM,
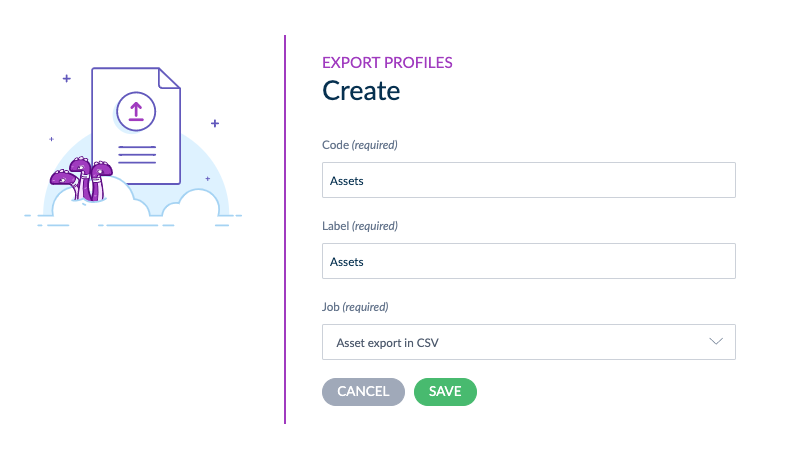
- Click on Create export profile,
- Choose a code, a label, and the job you want to use: Asset export in CSV or Asset export in xlsx, then click on Save.
Once you've created an export profile in Akeneo PIM, you'll find its settings organized into 5 tabs:
- Properties: where you can change the label of your profile
- Permissions: where you can select which user group is allowed to execute and edit the job profile
-
Global settings: This section defines the overall behavior of your asset export.
- With header: Choose whether to include column names in your exported file.
- Export prefix and suffix : By default, this is set to "No". Enable this option to export the prefix and suffix of your media link attributes.
- Export media : This setting determines whether to export the actual media files (e.g., images, documents) along with your asset data.
-
Content: The Content tab is where you filter the assets you want to export.
- Channels & Locales : When you have asset attributes with values by channel or locale, only values for channels & locales selected will be exported.
- Asset family: Select the specific asset family you want to export assets from. Each time you run this export, only assets belonging to this family will be included.
- Completeness: Filter assets based on their completeness level.
- Updated: Export assets that have been updated since a specific date or since the last time this export job was executed.
- Attributes to filter: After selecting an asset family, you can filter assets based on specific attribute values.

- History: where you can check the history of this job profile.
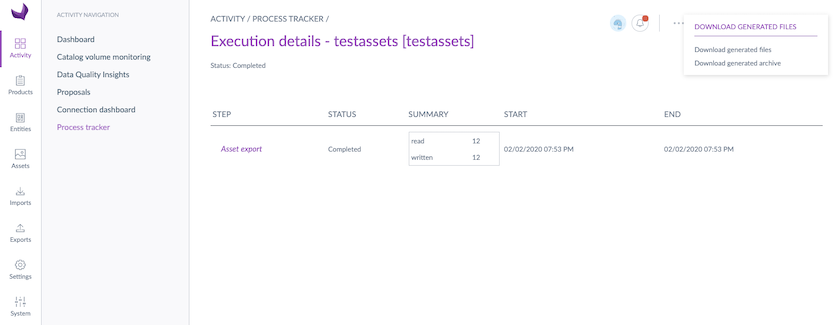
Once the settings are ready, save and just click on Export now. You will be redirected on the Process tracker screen. Wait for the export to be finished and then, download the generated files.
You will be able to download two different file types:
- the asset attributes in a CSV/XLSX file
- the asset attributes + the binaries (the images, documents, etc.) in a zip file.
If you export assets containing files that are externally stored (meaning that you use the media link attribute type), you will find the url of the asset in the CSV/XLSX file. 😉
Download the file with the media attached
You can choose to download the XLSX/CSV file (with all the asset values) and the binaries (it means that you will download the media attached to the assets). To do that, click on Download the generated files then Download generated archive.
Depending on the number of assets in your asset family and the file size, the download can take time.
Download the file without the media attached
It is also possible to download only the XLSX/CSV file without downloading the binaries of the assets. This way, you will have only the XLSX/CSV file with your asset family structure and the assets values. To do that, click on Download the generated files then again Download generated files.