Create records
Create a record
Once you have created a reference entity, you can add records. Let’s say that you just have created the Brand reference entity, you have defined its records attributes and now it is time to add new records. For example: Fermob, Kartell, Muuto, Fatboy…
To add a new brand to the Brand reference entity:
- Go to your Brand entity (you will automatically land on the records grid)
- Then click Add new, choose a label for the record (the PIM will automatically take its label to generate your record's code, but you can change it if needed).
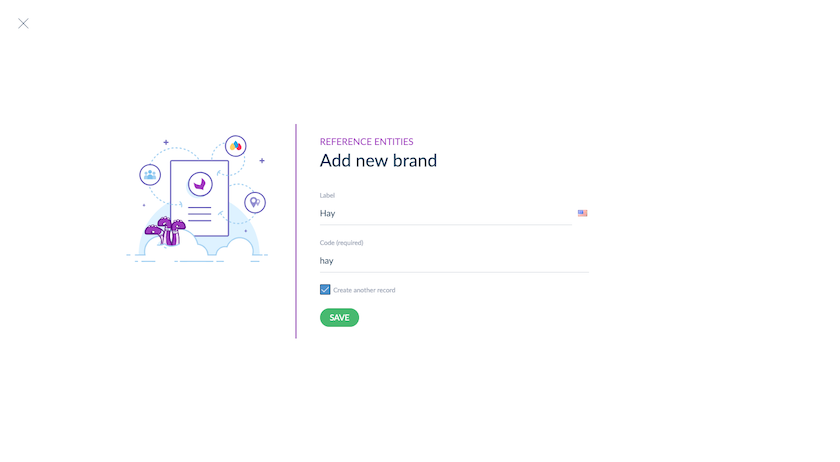
Create several records
Via the UI
- Input the first record label
- Tick Create another record
- Press Enter
- Add the label for each record
- Once you've done, press Esc or Echap
Via the records' import profile
It is also possible to create and edit a list of records in an XLSX or CSV file and then import it into the PIM. To do so, you have to create a new import profile in the Imports menu and select the Reference entity record import in CSV or Reference entity record import in XLSX job. As for your product imports, you can also import record images using an archive.
Via the API
Check out our dedicated documentation to learn how to create several records via the API.
Note that we have set a limitation of 1 million records per reference entity and of 10 million records across all reference entities to guarantee that the PIM is functional and runs smoothly.
Display records
To see the records of the reference entity, click on the Records tab in the left menu. You will see the records grid, where all the entity's records are listed.
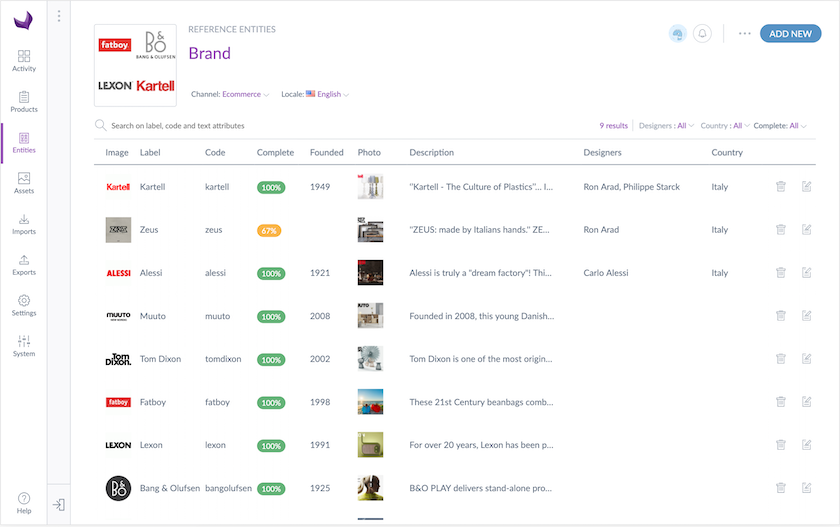
The records grid
The records grid is quite different than the products'. Thereafter are the specific features of this grid:
- The line with the names of the attributes is frozen: it allows you to scroll down the page while continuing to see the name of the attributes.
- The first 4 columns with image, label, code, and completeness are also frozen. We added a horizontal scroll to see the content of all the columns.
- We also added a tooltip to preview the content of a text attribute directly in the grid when you hover over the text.
- Finally, the grid has an infinite scroll that allows you to display up to 500 results. If you reach this limit, the grid will show the following message "You just scrolled through the first 500 results out of 1450 records. To see more, try with more specific search criteria."
Only the following attributes can be displayed in the grid: Code, Text, Image.
The values of the attributes types single/multiple options and reference entity single/multiple links can also be displayed in the records grid.
The columns' order in the records grid is frozen; it cannot be changed. By default, the grid's column order is Image, Label, Code, Complete. If you add other attributes under the Attributes tab, the grid will display them according to their order of creation.
Of course, you can still edit or delete a record, thanks to the buttons at the end of each line.
Search for a record
Full-text search
Our goal is to facilitate your work and increase your productivity. To make this possible, we made a powerful search in the records grid. Indeed, we implemented a full-text search that allows you to search on code, label, and text attribute types.
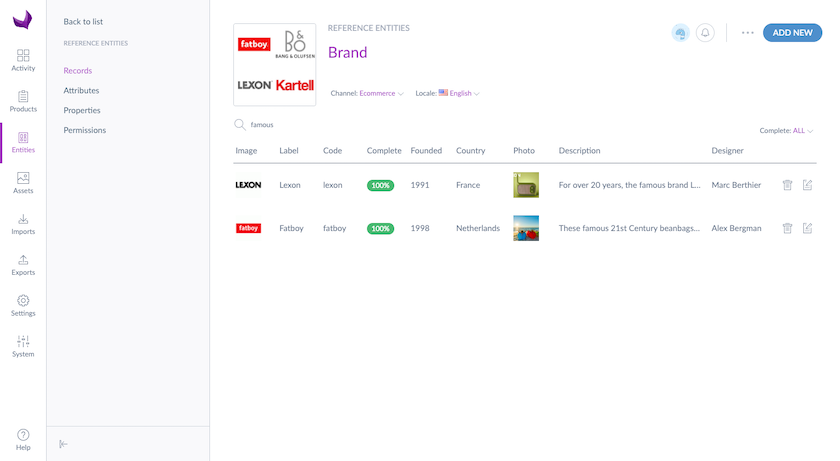
For example, if you search for the word « famous », all the records containing « famous » in their code, label, or text attribute types will be displayed.
And we can go further. If you search for "famous" and "bags", then only the record containing both "famous" and "bags" words will be displayed.
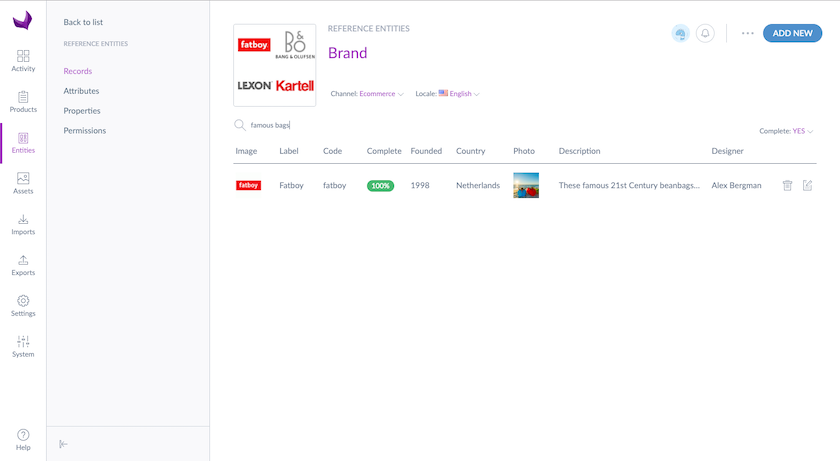
Filter on completeness
You can also filter on completeness to see the records that are complete/incomplete or choose to see all the records, no matter their completeness.
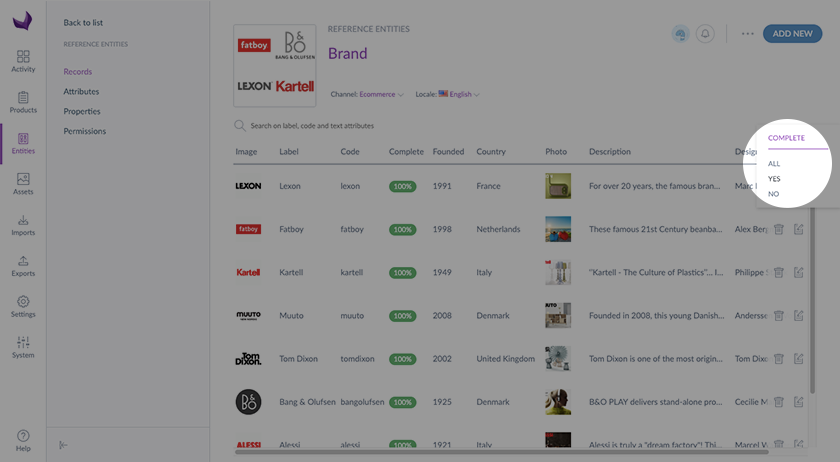
Filter on options and reference entity links
We added the possibility to filter on single/multiple options or reference entity single/multiple links attribute types in the records grid. This filter allows an exact search on a reference entity option value or on a reference entity link.
For instance:
- If a "Brand" reference entity has a "Designers" attribute linked to a "Designer" reference entity, you can search for all brands with the designer "Ron Arad".
- If a "Brand" reference entity has a "Country" attribute with a list of options, you can search for brands with the country "Italy".

The operator is an in-list operator. If you are looking for the brand with the designer "Philippe Starck" OR "Ron Arad", the brands with the designer "Philippe Starck" OR the designer "Ron Arad" will be displayed.
You can combine filters. For instance, you can search on all brands with the country "Italy" AND the designer "Ron Arad".
The cross can remove a record or an option from a filter.
To empty a filter, you can click on the eraser.
Edit a record
Of course, you can edit a record to change values or add new ones. Nothing simpler: go on a record and add/change the values you want.
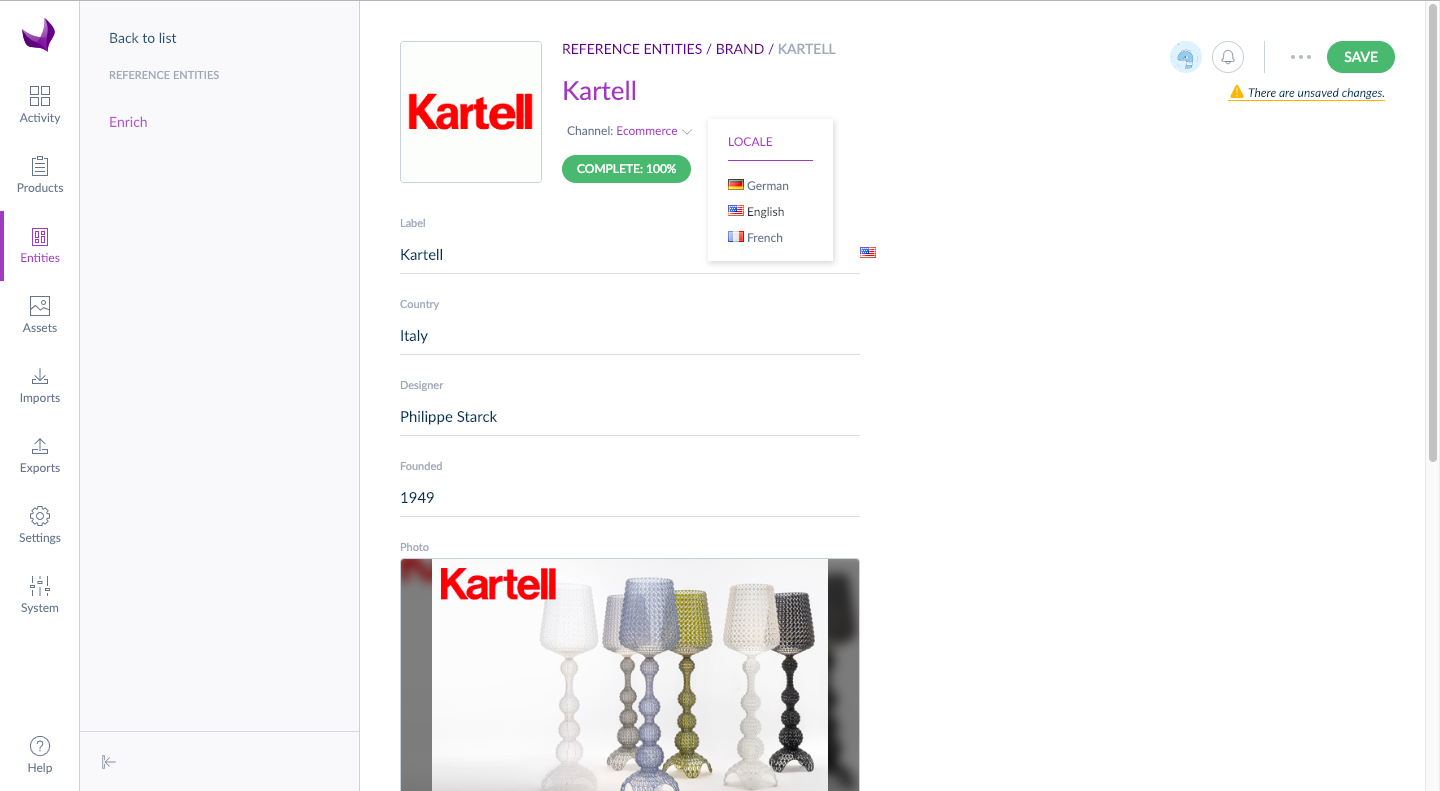
As for a product, you can define if you want different content according to channels; the same applies to locales. You can find a locale and channel switcher on each record, meaning that if you need to translate values, for example, you can do it by simply switching from one locale to another.
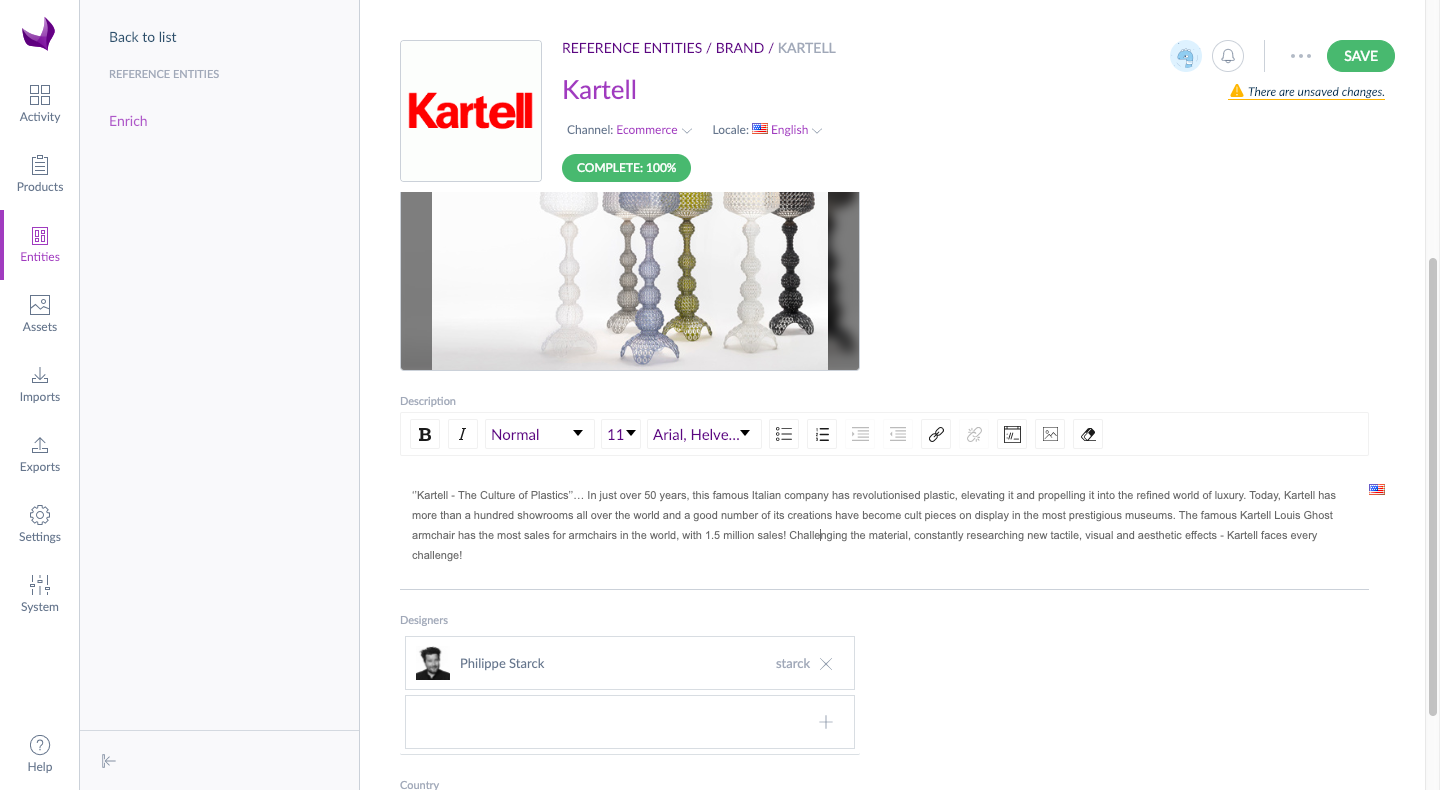
In the Attribute tab, you can tick the parameter rich text editor if you define a "Text area" attribute for your records. This will give you access to a set of options to improve the format of your text. For instance, you can change the font, the size, etc. You can also add a link, a video, or an image. The rich text editor offers a large bunch of possibilities!
Display the products linked to a record
You can directly see the first products linked to a record in a new Products tab from a reference entity record.
To display the 1st products linked to a Kartell record:
- Go to the Kartell record
- Then click on the Products tab
- To open a product, click on it, and the product form will open in a new tab.
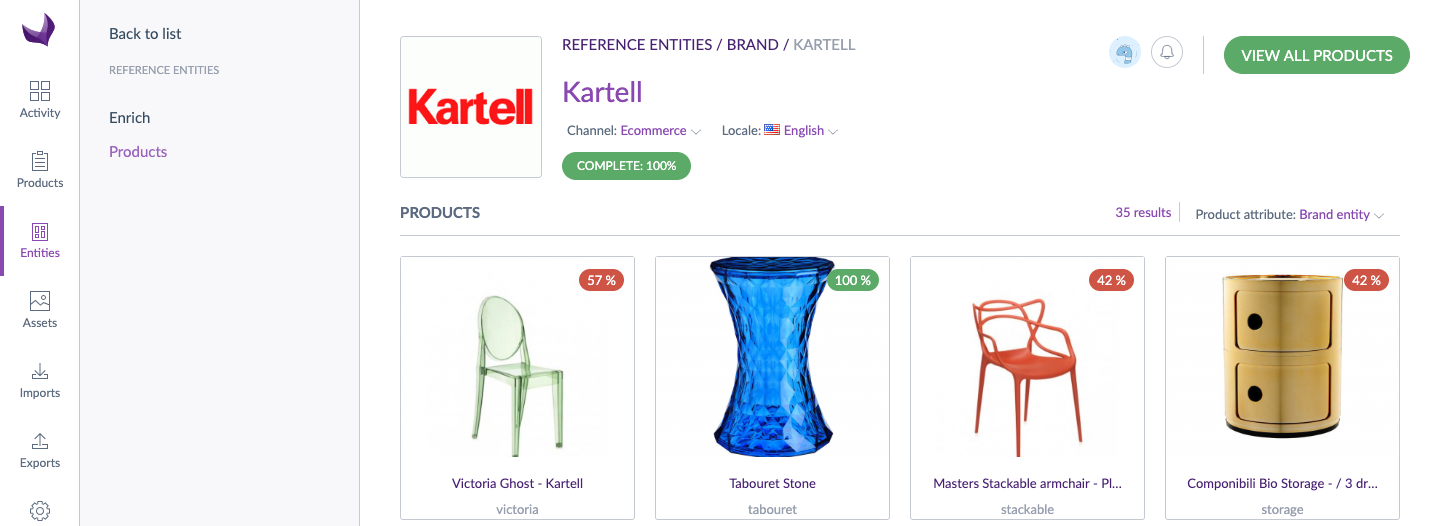
In this Products tab, the 20 first products linked to a record (for the selected product attribute) are displayed, as well as the total number of products linked ("xx results").
If more than 20 products are linked to the record, a message is displayed after the last products:

If you want to display all the products linked to a record, you have to click on the View all products button, it will open the product grid with a filter on the product attribute linked and the Kartell value. Then, from the product grid, you can search and launch enrichment actions on these products.
If several product attributes are linked to the Brand reference entity, you can change the Product attribute filter.
If no products are displayed in the Products tab, there are two possible reasons:
- Your reference entity is not linked to a product attribute; you first have to create a new product attribute linked to the reference entity.
- The selected product attribute doesn't have any product linked to the record. You first have to link products to the record.
If the View all products button is not displayed, check that the product attribute is set as usable in grid.
Follow the records' completeness
As for products, we calculate completeness on records.
In the records, several indicators show you the status of your completeness and which attributes are missing.
- Yellow bullet points in front of each missing required attribute showing that you have to complete this attribute to improve the completeness.
- The completeness percentage in the record's header informs you of the completeness level.
The completeness is automatically calculated as soon as we enrich a required attribute. It means the bullet point will disappear as soon as the required attribute is filled, and the same for the completeness percentage evolution.
Link a record to another record
It is also possible to link a record to another one, and it is very simple.
For example, you can link a Designer (let's say "Philippe Starck") to the record “Kartell” or to several records brands belonging to the "Brands" entity.
Please refer to this article to discover how to do so.
Once you have chosen which entity is linked, you can see a new selector with all the records of the linked entity.
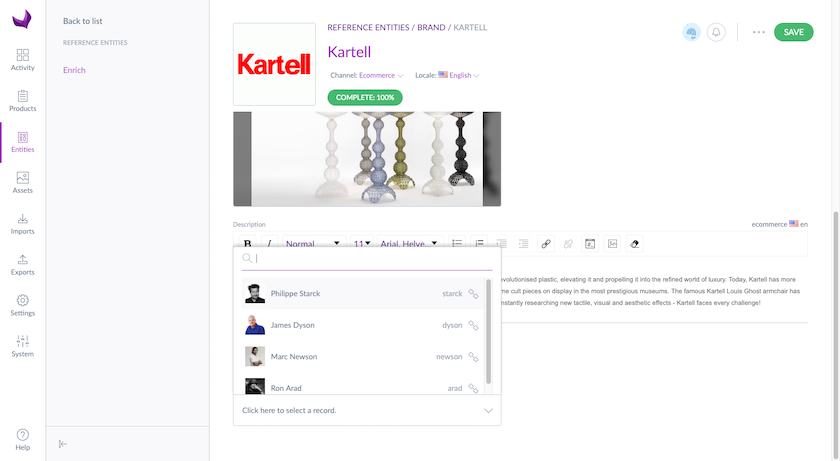
We added the completeness of a record in the selector.
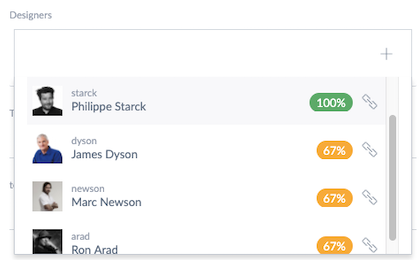
Click on the selector's link icon on each record line to preview the record. It will automatically open a new tab in your browser.
Link a record to one or multiple Assets
You can link a record to one or more assets from the Asset Manager. This is useful, for example, if you want to associate a brand logo or other visual assets with a specific record.
How to Link Assets
To learn the step-by-step process for linking assets, please refer to this guide.
What Happens After Linking
Once you’ve selected an asset family to link, a new dropdown selector will appear, displaying all available assets from that asset family. From there, you can choose the assets you wish to link to the record.
Please refer to this article to discover how to do so.
Once you have chosen which asset family is linked, you can see a new selector with all the assets from the linked asset family.
Delete records
Delete a record
You can delete a record or all the records of an entity.
To delete a record, 2 choices:
- Either directly in the records grid, or by clicking on the trash can button on each record line.
- Either in the details of the record, by clicking on the ... button at the top right corner of the header, then delete.
Delete a selection of records
It is possible to delete your selection of records.
- Check the box under each record you would like to delete
- In the bar at the bottom, click on delete
- In the confirmation pop in, type in the name of the reference entity and click on delete
If you change any filter afterward, this record selection will be reset.
In the bottom bar, checking the box allows you to select all records or none in one click! This way, you can mass delete all the records very easily 😉.
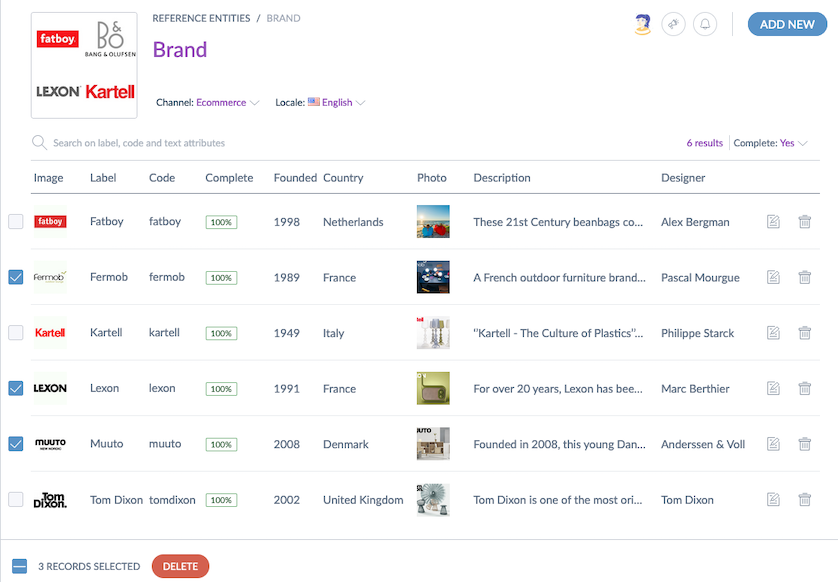
To be able to delete all the records of an entity, you need to check that:
- No record of this entity is linked to other entities
- No record of this entity is linked to a table attribute
- No record of this entity is in a product


